To create a Project, use the nav panel, select Projects >> Projects List. Once on the main Projects page, click the + New Project button at the top. That will open the “New Project” modal window for you to enter some basic information about this new Project.
Alternatively, Projects can be created from within Meetings from the Projects section of the meeting agenda by clicking New Project. Both methods will produce the Project creation modal.
Fields and Their Meaning
- Project Template: If your organization has created Project Templates, (update that page) you can select one here, and most of the following fields will be auto populated. Project due date and any Task deadline dates from the template will automatically adjust to the start date chosen.
- Start Date: The date your Project will begin.
- Due Date: The date your Project is expected to be completed.
- Project Name: The title of your Project.
- Subtitle: Short clarification of the Project name.
- Description: A broad overview of the Project’s purpose and goals.
- Owner: User with the rights to make major updates to the Project, such as changing its start and end dates, changing viewers or members, and marking the Project complete.
- Team Members: Users working on this Project. They can create/edit Tasks associated with it (if they have that permission in their user role) and reassign those Tasks to other team members.
- Select Existing Team: If your organization has Teams set up, they can be added as a whole unit to a Project.
- Meetings: Add the Project to existing meetings.
- Initiative: If the Project is part of a larger long-term Initiative for the company, add it here. Initiatives are managed separately in Project Settings.
- Viewers: Interested parties who can see the Project and its status, but they are not actively working on it.
- New Task Button: Break the Project up into smaller, manageable pieces here. Add as many as you want. For a detailed look at Task creation, click here.
Once you’ve got all that done, click the red Create New Project button.
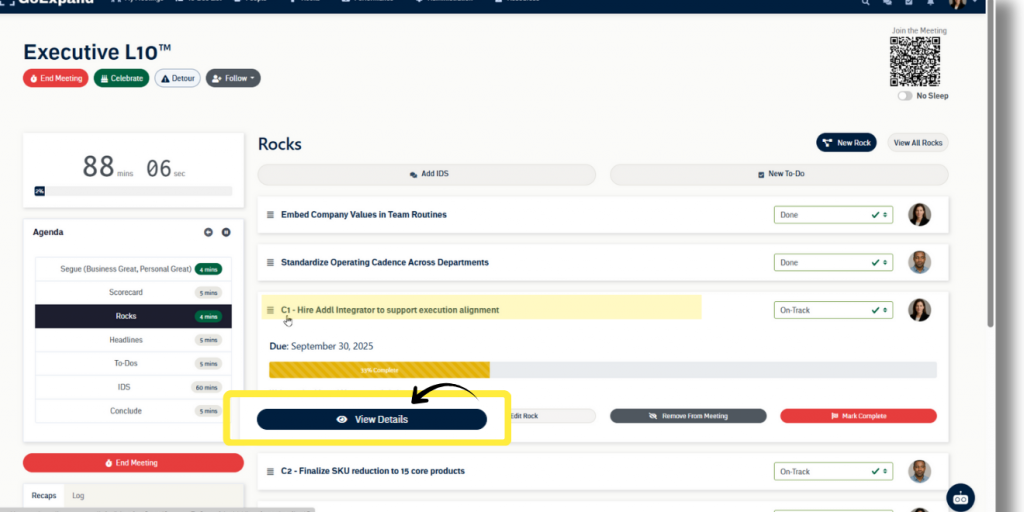
After your Project has been created, you can access it from the main Projects screen by clicking the title or the View button. From within a meeting, you can open a Project by selecting its name in the Project pane, then selecting View Details.
Next up: Company Setup


