Once a new meeting is created and you’ve selected individuals that should attend, each individual has the option to accept, maybe accept, or reject the invitation. If the individual rejects the invitation, they will not see the meeting on their “My Meetings” page or widget. If they respond with “Maybe”, they will see the meeting and are allowed to attend it, but any Objectives in that meeting that are tied to that individual will NOT be available to other meeting attendees to view (more about this later). Finally, you guessed it, if the response is “Accept”, they can see and attend the meeting and any Objectives in that meeting that are tied to that individual WILL be available to other meeting attendees to view.
We manage the invitations in SecureDB in two ways: email invitations and the meeting attendee management pane.
Email Invitation
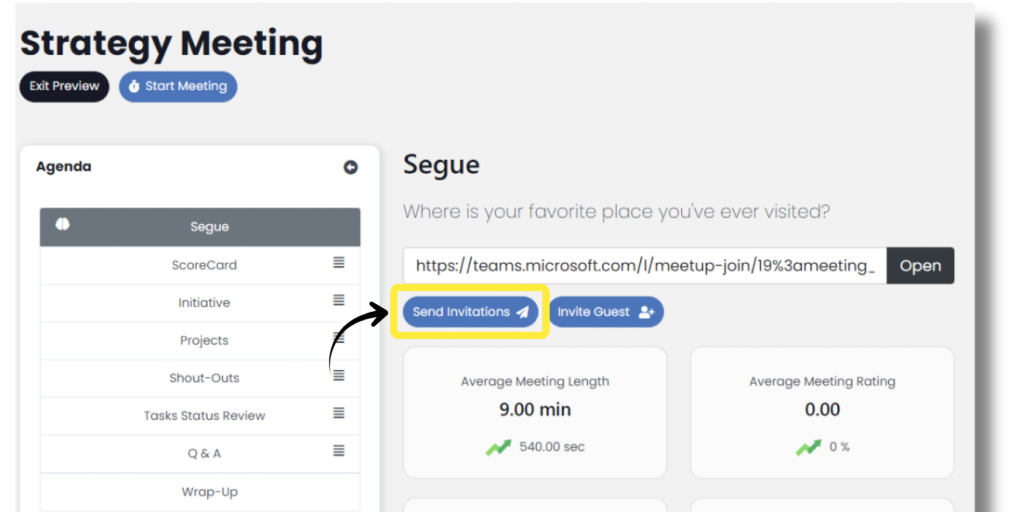
When the meeting Creator is previewing the meeting, they have the option to click “Send Invitations” button just below the “Segue” prompt. When they click that button, email invitations are sent to all meeting attendees. That email includes three links for them to Accept, Reject, or respond with “Maybe.”
Meeting Attendee Management Pane
From the meeting Creator’s “My Meetings” block, click the small arrow to the right of the meeting you want to review.
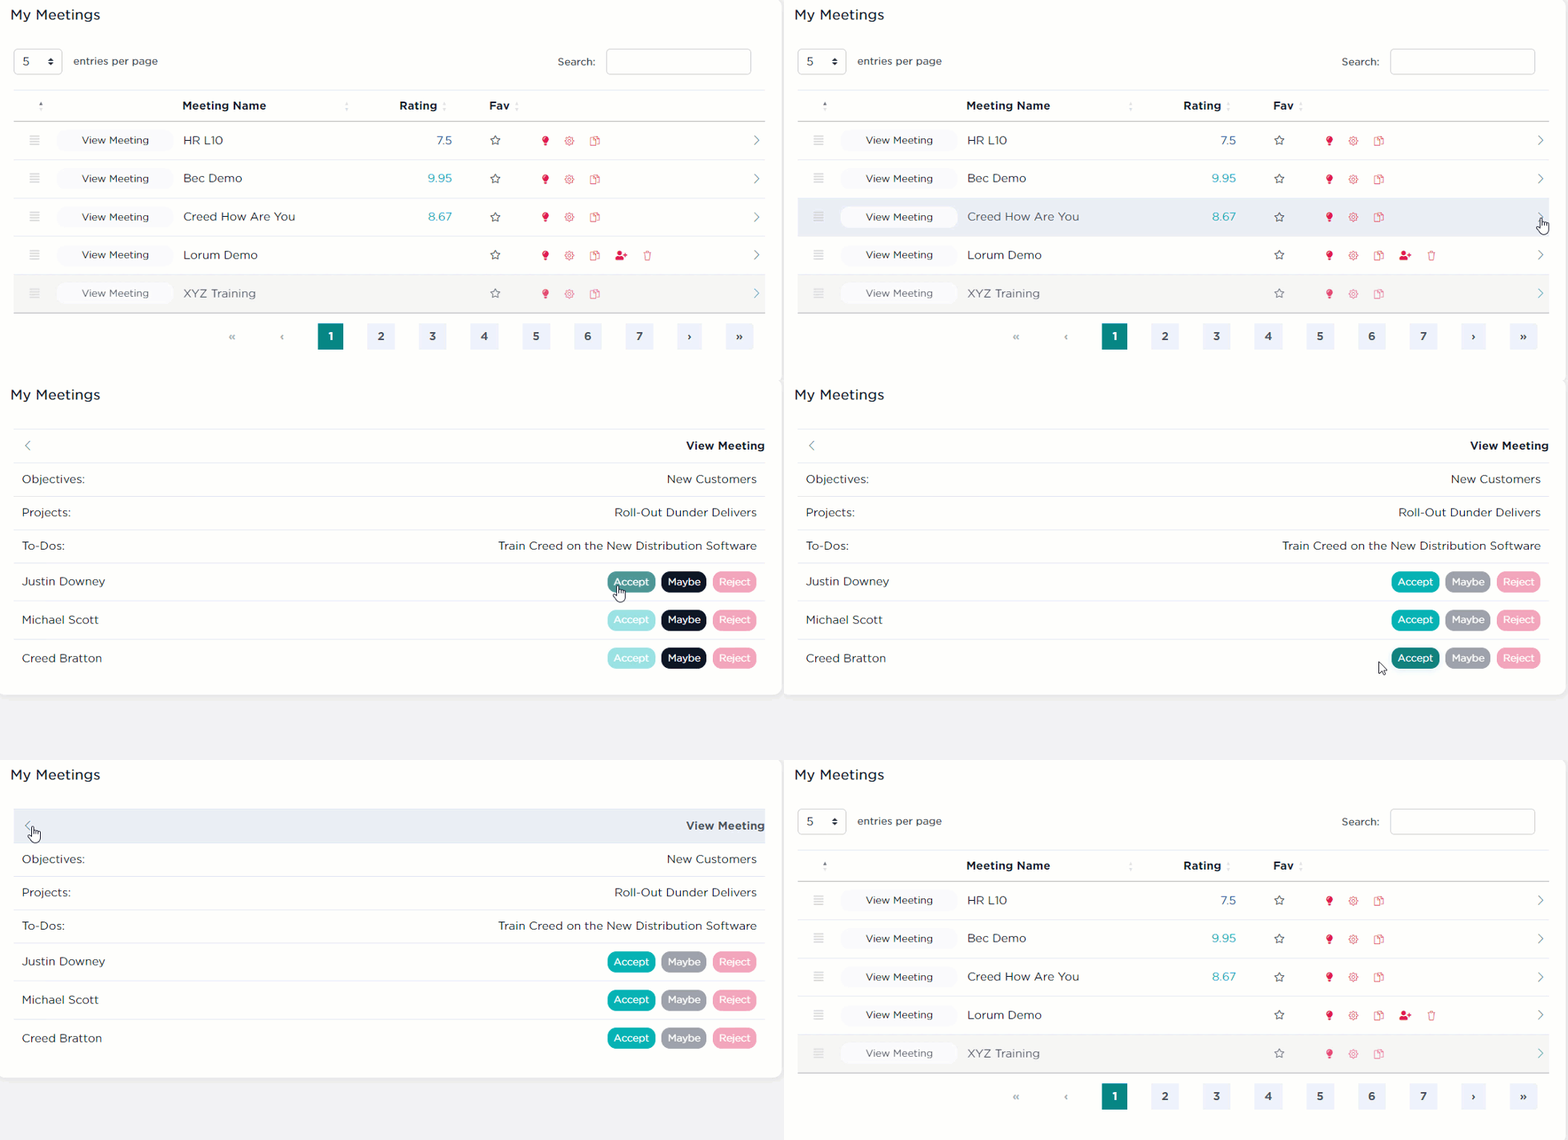
You’ll see a new pane displayed. The attendee management pane includes the meeting title, the Objective categories added to the meeting as well as other read-only information about the meeting agenda. Finally, it includes the meeting attendees next to three buttons showing their current meeting response. The meeting creator can update their responses on their behalf from here by clicking the appropriate button.
Click the arrow at the top-left of the pane to return to the normal meetings pane.
Why Does This Matter?
When a meeting is created, the Creator has the ability to add Attendees, either as Individuals, by role, or by Team. The creator also sets the Agenda and can include specific Measurable Objectives to be discussed. Additionally, the creator can include broad Company Initiatives, Specific Projects, or individual Tasks. It is important to know this because company meetings can include employees from different role, Departments, and varying levels of Behavior with the organization. That being said, you may not want everyone in a particular meeting to have the ability to see information regarding others’ performance or Factor–even if those Objective categories are added to the meeting agenda. By changing a meeting attendee’s response to “Maybe”, their Objective data is not pulled into the meeting. You can always change attendee responses later from the attendee management pane.
Invite Guests to Meetings
SecureDB also allows you the unique ability to invite “guests” to your meetings. Guest are users outside of your organization who don’t have an account in SecureDB. Guests are able to access the meeting preview and follow the agenda once the meeting starts, but they can only add and update Discussion questions and details. Guests do not have permissions to edit any other agenda items.
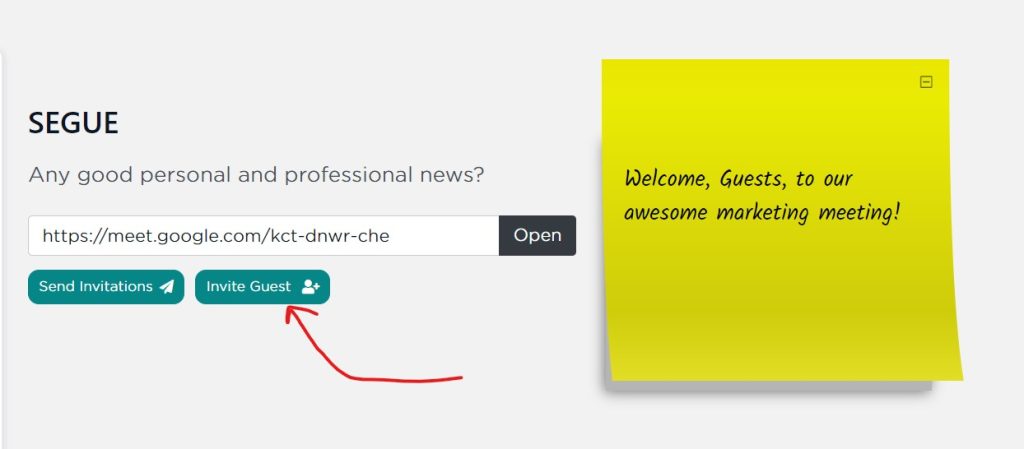
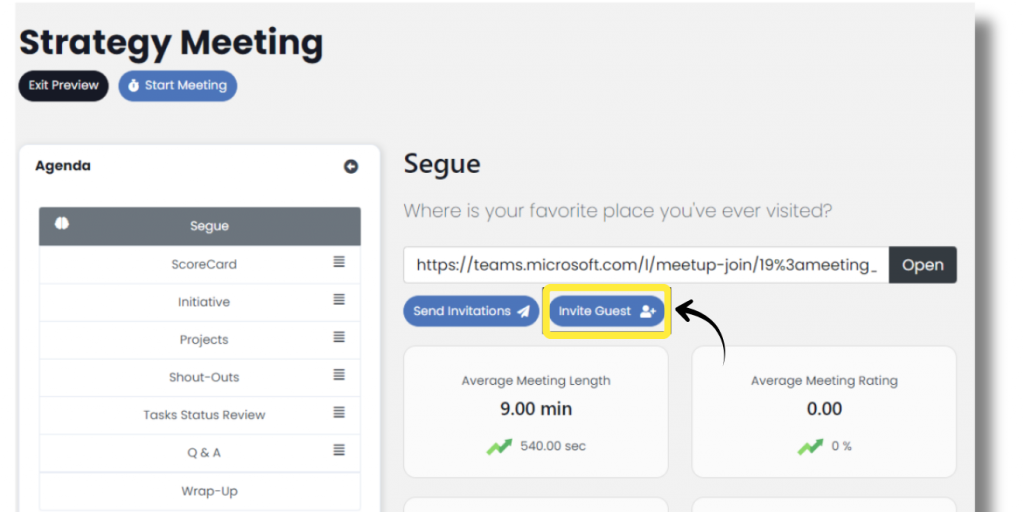
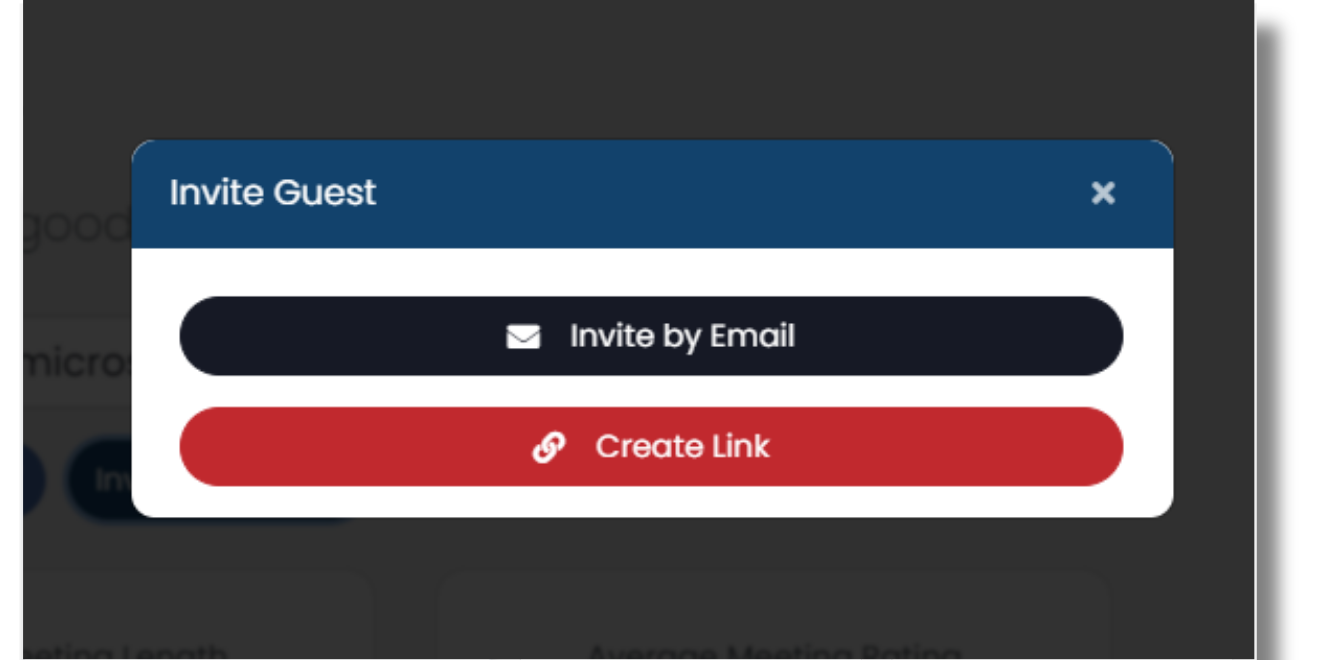
To invite guests to your meeting, select the “Invite Guest” button just below the Segue prompt, and you will be given two options: Invite by Email and Create Link.
Choosing Invite by Email will bring up a simple email modal that allows you to enter as many email addresses as you’d like and a brief message. The Meeting and From fields are automatically filled out, and you can add any internal users you’d like to receive the guest invite email in the CC field. The Project and Add As Virtual User fields are optional. You should only select Yes in the Add As Virtual User if you intend on creating a user account for the invited guest in the future. Once you are satisfied with your email, select Send Invite.
It is important to note the the link sent via Invite by Email is reusable, so guests invited this way will have access to the meeting preview until you change the settings. If you’d like guests to have a one-time link, use Create Link.
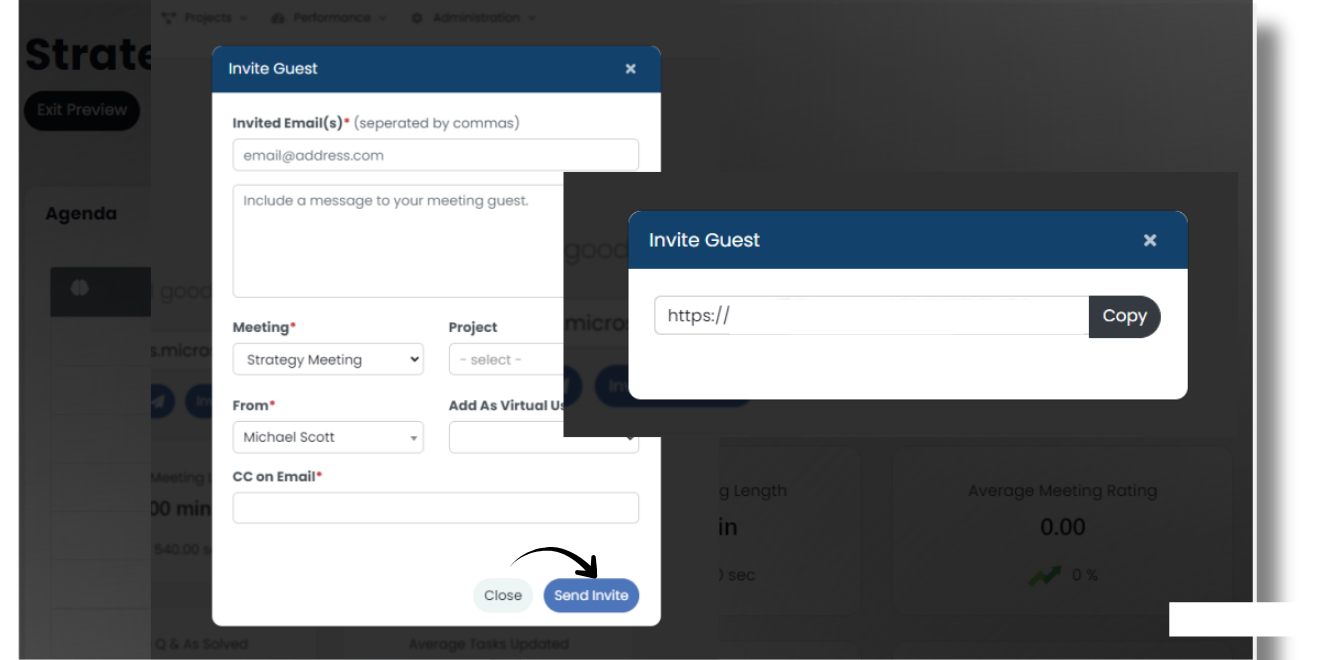
Selecting Create Link will bring up a simple modal with a link that you can copy and send to guests however you want. This type of guest invite is a one-time-use link. Once the meeting is started and ended, the link will no longer work for a guest, and they must be resent another.
Next up: The Segue


