You’ve built the organization, set all categories for both Factor and Objective, set all the Can Score In and Is Scored for all the users. Now you realize you need to add more categories that the customer has requested, and they will need to be added to ALL employees’ Can Score In and Is Scored In rights.
That’s a lot of mouse clicks. This job is made much easier by utilizing Bulk Upload and Import.
And here’s how:
WARNING: This is an advanced function designed for use only by Power Users. There is a backup/test/revert safety net built-in, but you can still get into trouble if you’re not careful with it.
To access Bulk Import/Update, click on Administration in the left hand menu, then select Bulk Import/Update.
Export Existing Data
Just below the page title, you’ll find two pill buttons: Import (default) and Export. Click on Export to view the available User Data Tables you can export from the database.
Choose the data set Users from the dropdown and click the Download button. Your browser will download the data converted to a CSV file you can open in your spreadsheet of choice (i.e., Google Sheets, MS Excel, etc.).
While you are here go ahead and also Select the data set Factor Categories and click download.
Prepare Import Spreadsheet
Open the Factor Categories CSV file. Here you can identify the Category ID for the new category(s) you created. In this example, I added the category Post-Project. Its ID is 36.

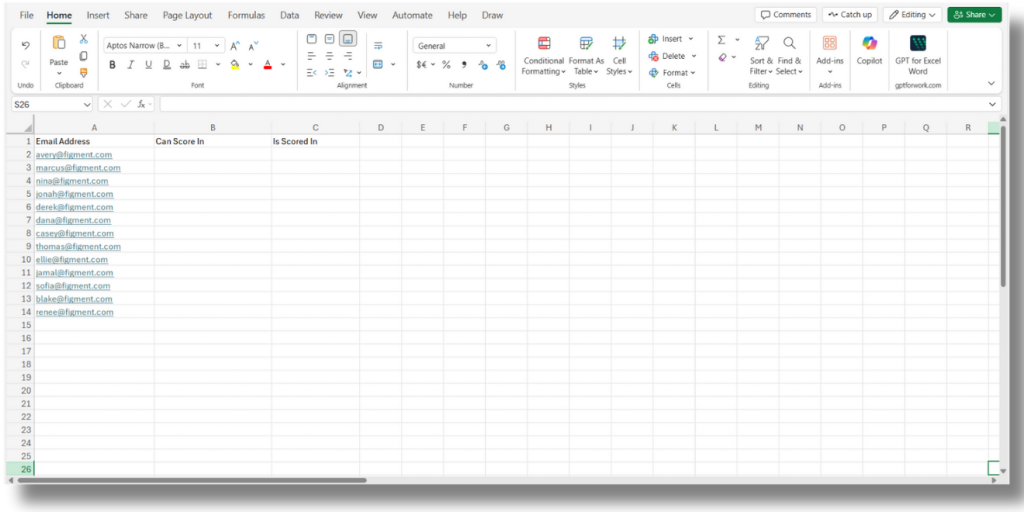
Now go ahead and open the User CSV file. You can delete columns User ID, Name, Last Name, Password and role ID. This should leave only Email in column A
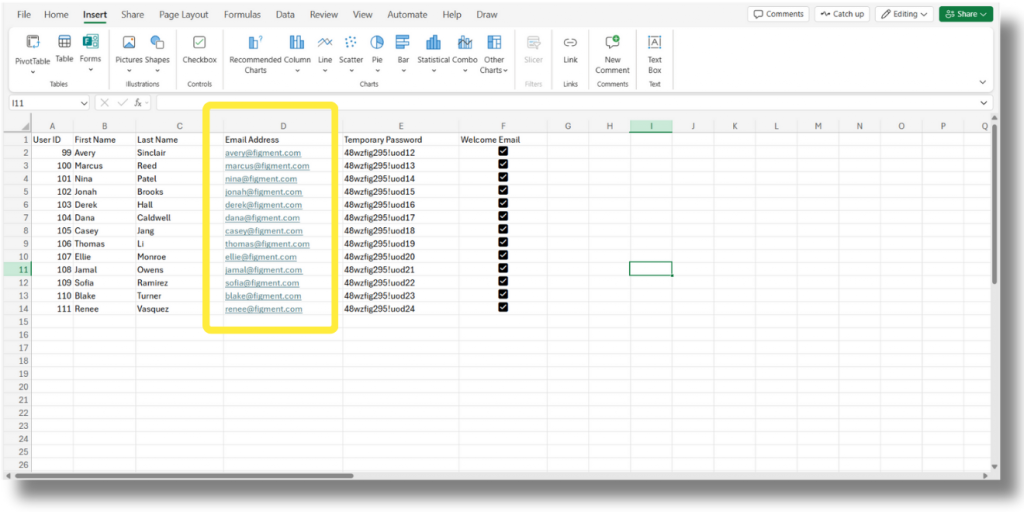
Now name column B – Can Score In and column C – Is Scored In
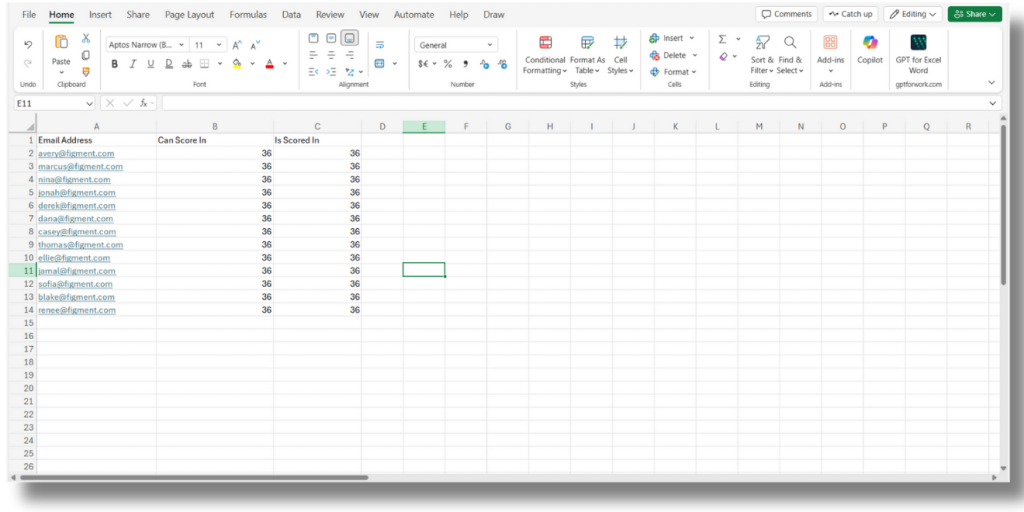
Since we are adding these to all users in the organization you can paste in the Factor ID of 36
to both Column B and Column C. Then save the file
Bulk Upload and Import
Now return to Bulk Import/Update select Import and choose the file you just saved
Once that file has been uploaded and processed, you’ll be given some options to map each column to the correct location in the database.
Since we want to overwrite anything that matches our inputs, let’s select “Overwrite” from the first dropdown at the top. Then, we see the column headers in the uploaded document and a few example rows. Above each, select where you want this data to go.
For Email Select – Ignore from the Dropdown;
For Can Score In – Select Factor: Can Score In from dropdown;
For Is Scored In – Select Factor: Is Scored In from dropdown
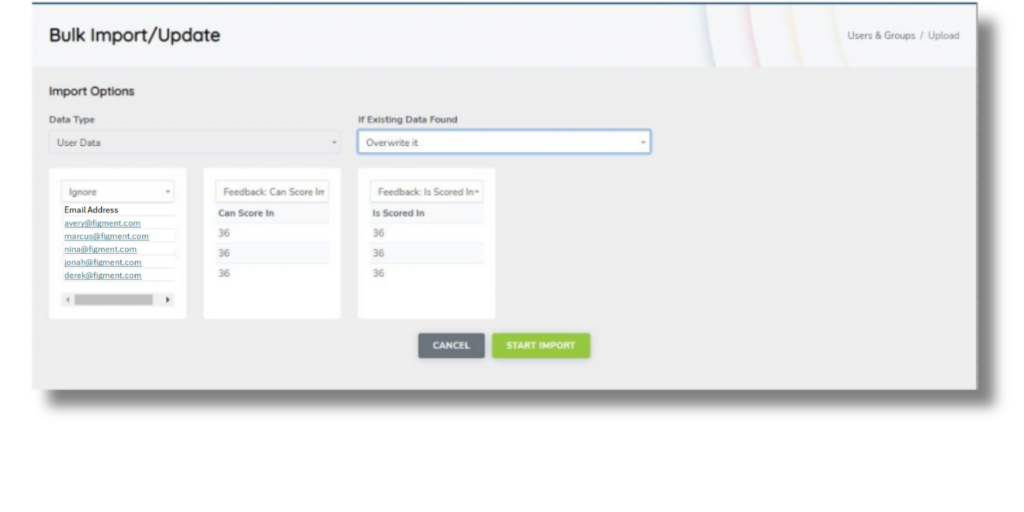
Once you’re done mapping each column, click the green Start Import button.
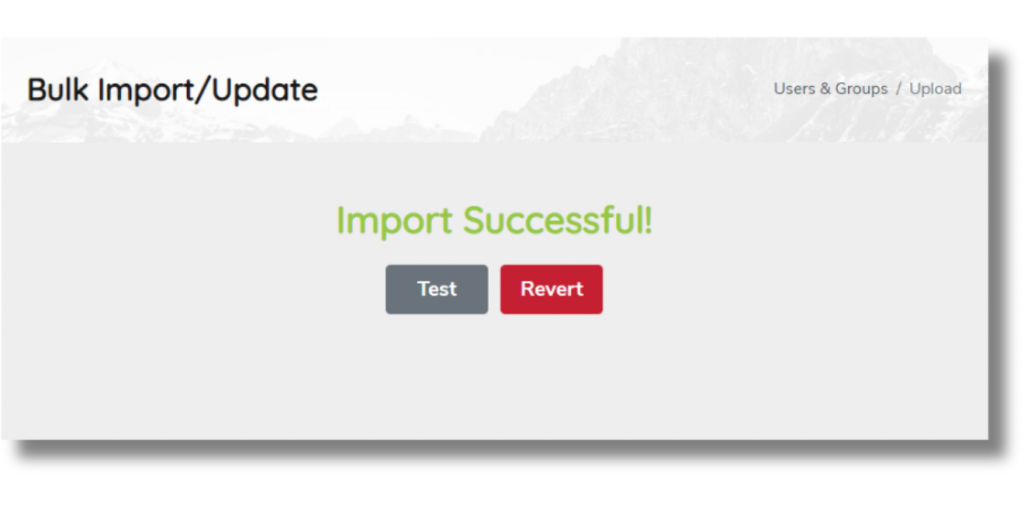
If the import is successful, you will be greeted with two buttons: Test and Revert. Open the “Test” button in a new browser tab or window. DO NOT close this tab/window. Check to see if your changes were made the way you wanted them. If anything went wrong, return to this screen and click the red Revert button which will restore the database to what it was just before your import. Once you’re happy, close the window.
If you receive an error like, “Oops. There was an error importing the data,” please create a Support Ticket.
![[brandname]-feedback-featured](https://securedb.io/kb/wp-content/uploads/2023/04/etho-feedback-featured.jpg "5 Ways to Improve Employee Engagement Through Feedback")


