Creating a Rock
GoExpand‘s Rocks management module allows users to organize To-Dos into Rocks. Users can initiate a new Rock by accessing the “Rocks List” in the main navigation under “Rocks”. Once on the Rocks page, click “New Rock”, and enter details such as start date, deadline, name, subtitle, and a brief description. Additionally, the Rock owner, viewers, and team members are selected, and if necessary, the Rock can be linked to meetings and associated with organizational 1 and 3 Year Goals. Finally, To-Dos for the Rock can be created before saving the Rock.
NOTE: The logged-in user must have “Access Rocks” enabled in their Seat permissions to see Rocks or To-Dos. See more in the Permissions Glossary.
To-Dos in Rocks
To-Dos serve as manageable pieces of the larger Rock and can be assigned to one or more individuals or entire teams. As stated earlier, To-Dos can be added during Rock creation, or users can add or edit Rock To-Dos by opening an existing Rock. To-Dos within a Rock are automatically designated as “milestones”. Milestone To-Dos can always be accessed from within a Rock but will only appear on a user’s task list when they are within 7 days of the due date or late.
Rock Management
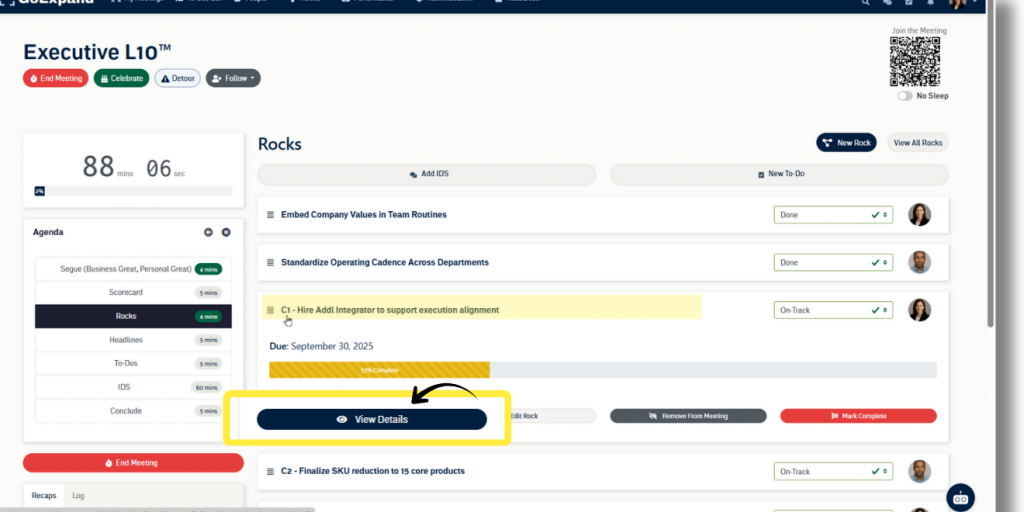
Once To-Dos associated with the Rock and ownership is assigned for each To-Do, the Rock management process can begin. Sub-To-Dos can be written out within To-Do details or broken into separate To-Dos. To-Dos can be marked as “Not Started,” “In Progress,” or “Complete.” Once all To-Dos within a Rock are completed, the Rock can be marked complete by the owner after giving Feedback on the process.
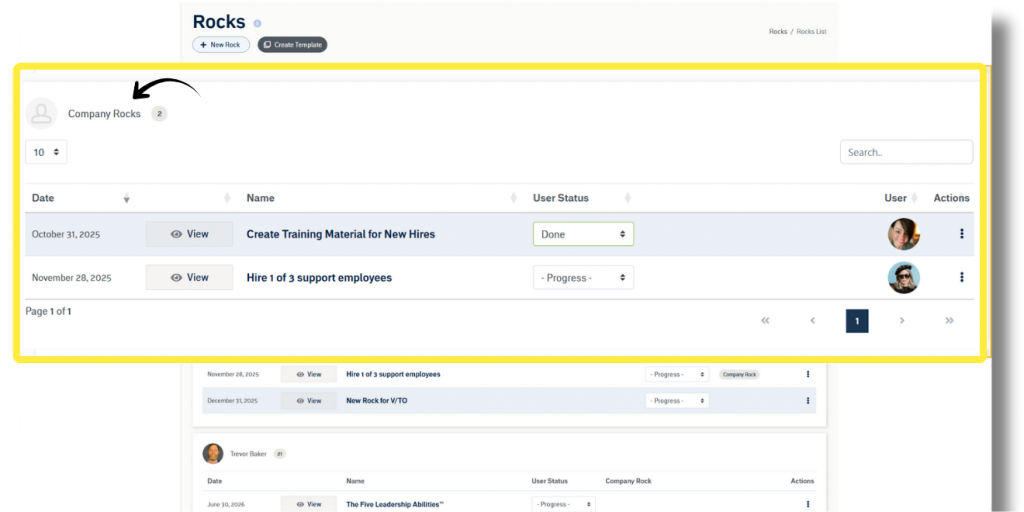
Communication of Progress
The overall Rock completeness is automatically calculated based on the sum of To-Do statuses relative to the deadline of the Rock, but don’t worry, the application provides flexibility. Anywhere Rocks are found, the owner can use the dropdown to convey the Rock‘s progress by selecting “On Track”, “Off Track”, or “Done”. Selecting Done will prompt the user to officially mark the Rock complete.
NOTE: Users with “Company Settings” permission in their Seat can update the names of the three Rock statuses in Naming Conventions.
Next up: Create a Rock


