To help formulate executive vision and planning as well as to ensure company-wide alignment with that vision and plan, LoopSpire has an interactive, printable, and embeddable business plan building tool we call, the “Business Planner.”
Enable Permission to Access
The first thing you’re going to need to do is make sure the user role(s) you want to have access to Business Plans has that permission enabled in their role. Go to Administration >> Manage Roles >> and click Edit on the role you’d like to enable this feature for.
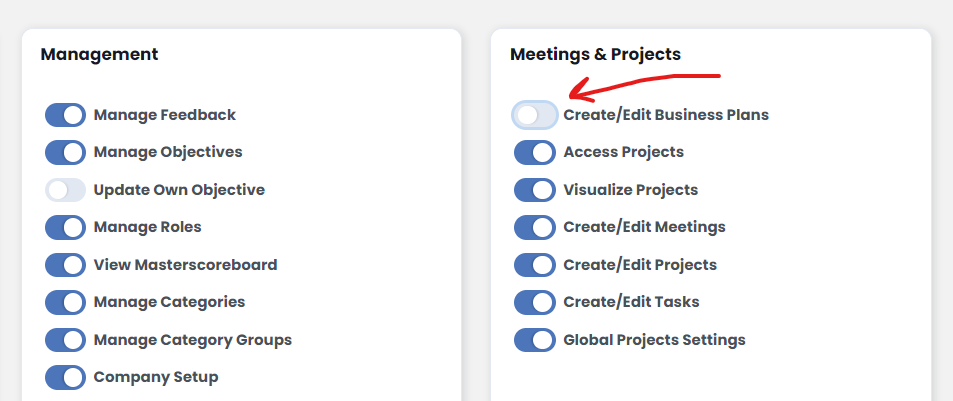
Once you click “Update Role”, you’ll find “Business Plan” under the “Performance” option in LoopSpire‘s main navigation.
Create a New Plan
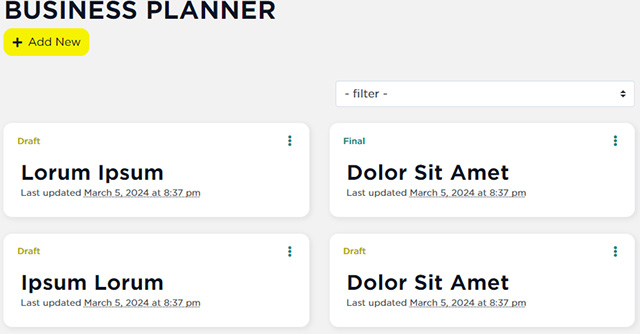
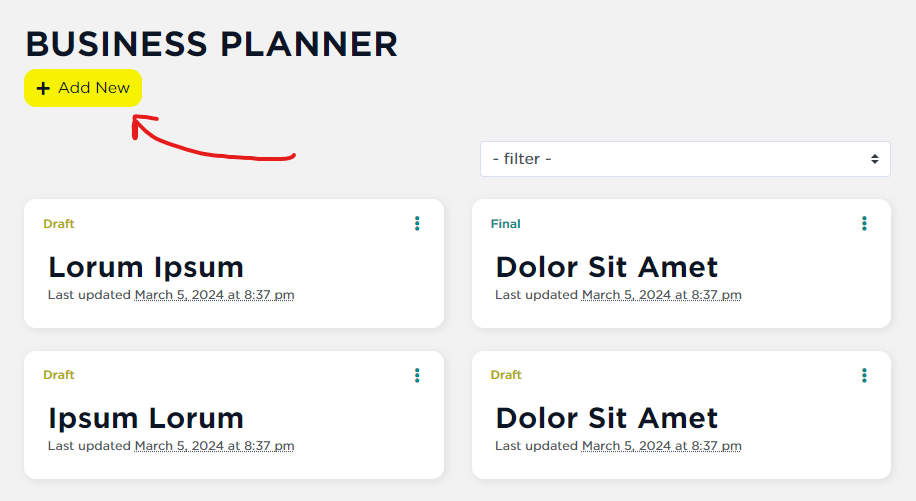
To create a new plan, go to Performance >> Business Plan >> and click on the Add New button at the top.
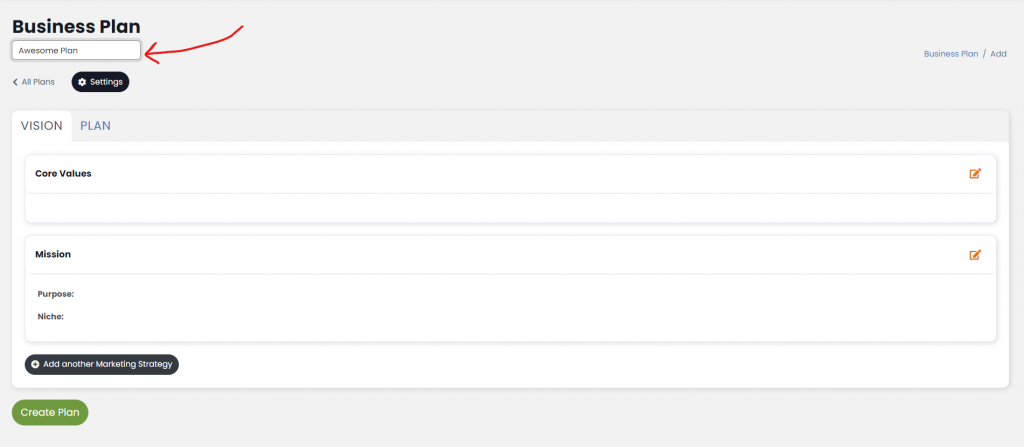
Let’s give our new business plan the name, “Awesome Plan,” but you should probably name yours something more descriptive. It’ll come in handy later if it’s unique and memorable.
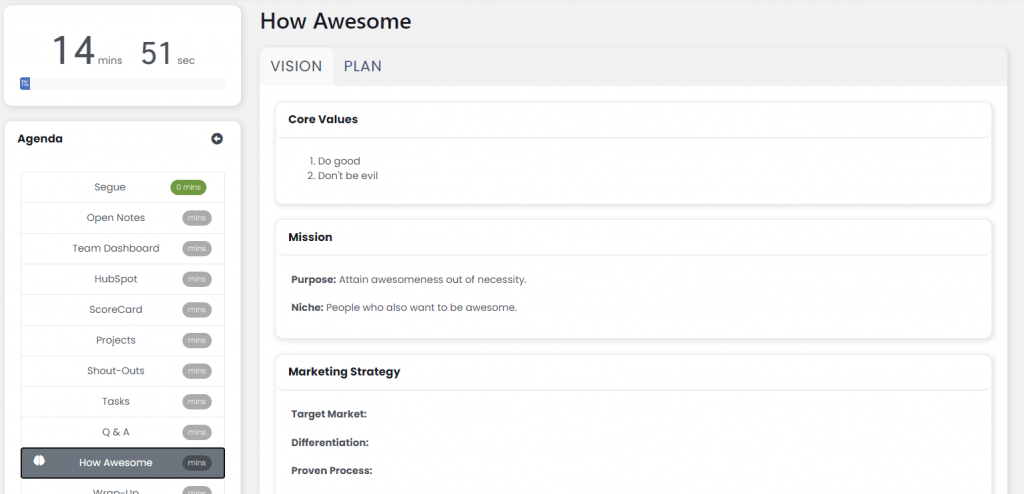
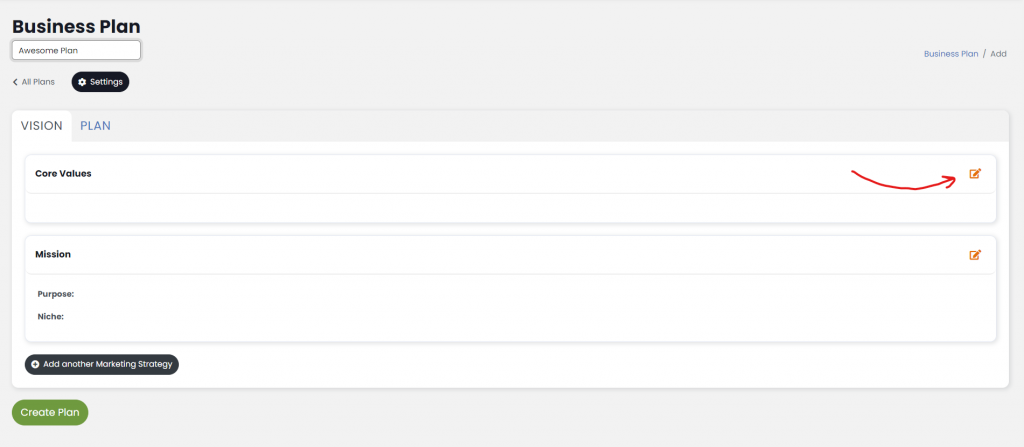
On the first, “Vision” tab, let’s enter some “Core Values.” We edit these by clicking on the “Edit” icon to the far-right of that section of the plan.
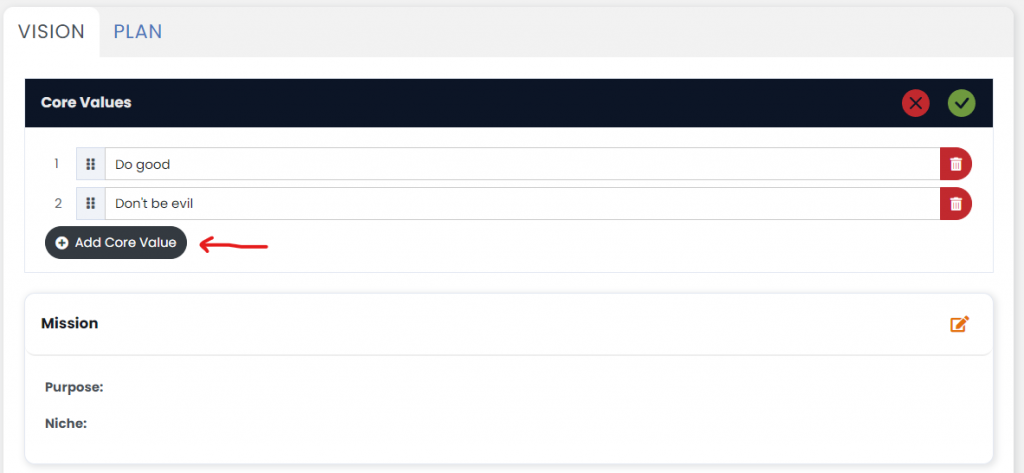
That puts this section into “edit mode.” Let’s click “Add Core Value” and add a couple. Ideally, there should be more like 4 or 5.
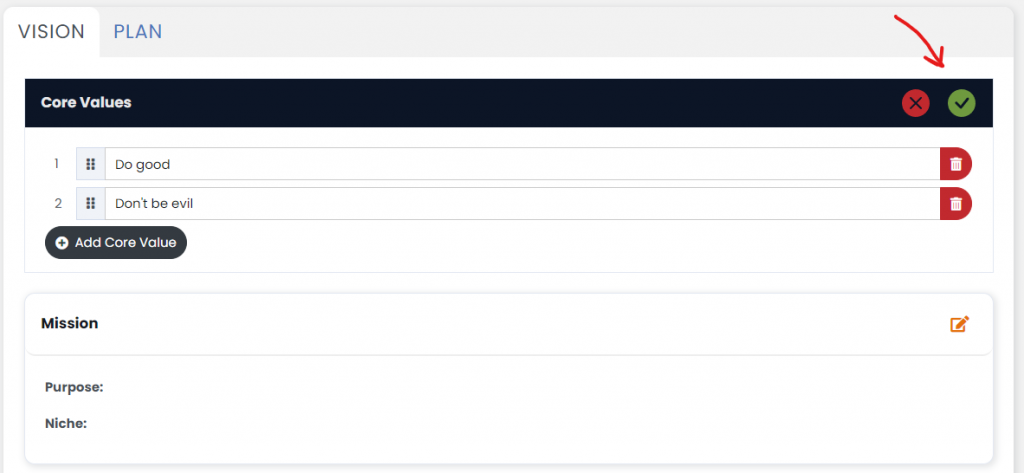
When we’re done, we need to commit our changes by clicking the green “check” button at the top-right.
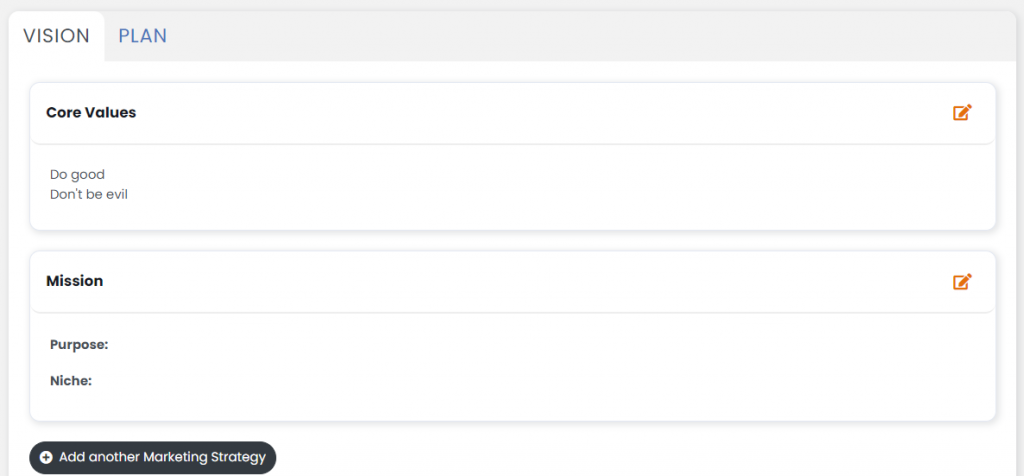
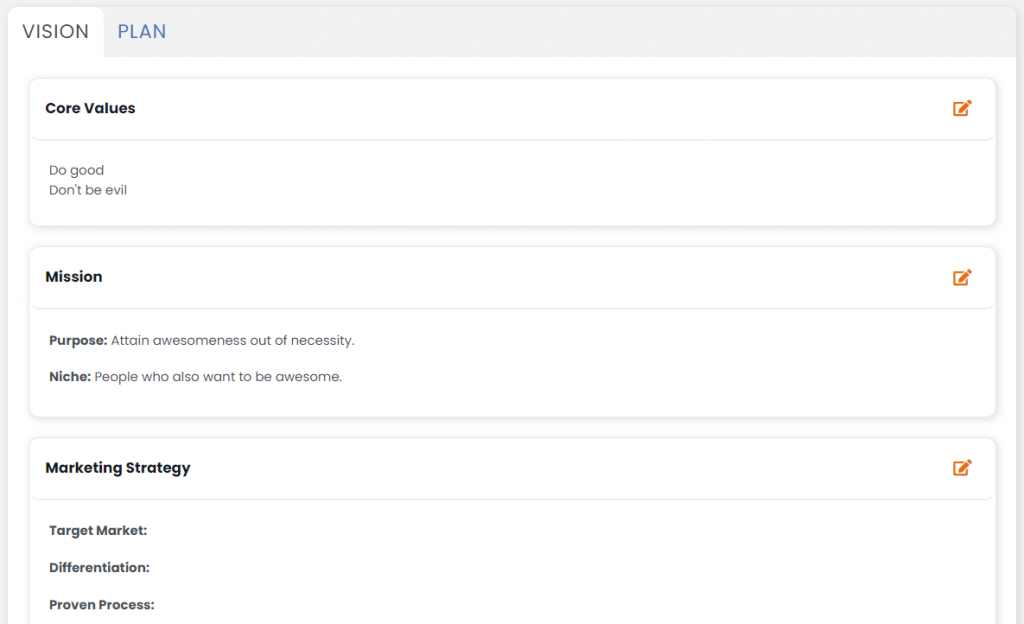
Great! That’s saved. Now, we can repeat the process for “Mission.” Then, optionally, we can click Add a Marketing Strategy to attach that portion to our plan too. You can have as many marketing strategies per plan as you would like.
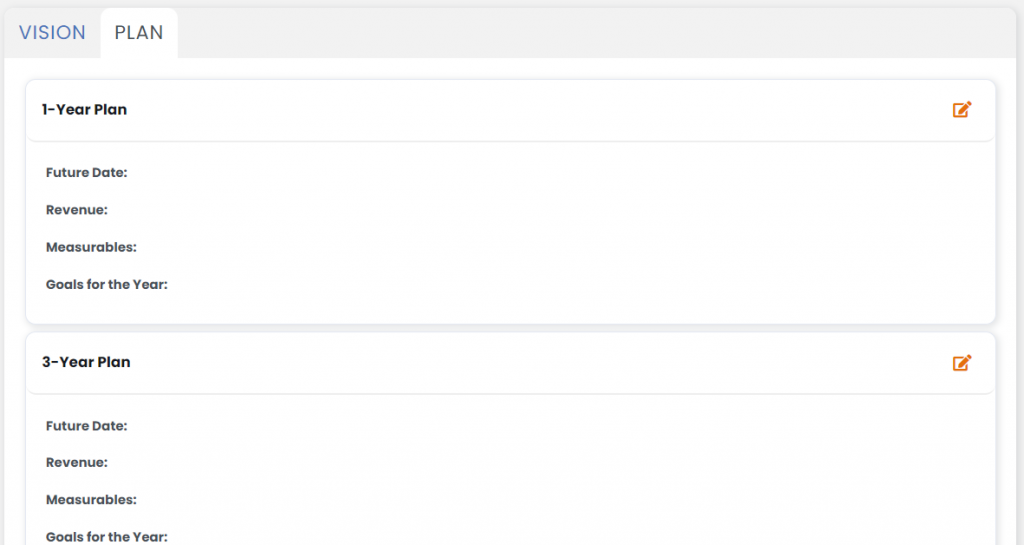
Now, let’s jump over to the “Plan” tab. What we want to put here are the milestones we will be tracking along our vision path. These include 1-year, 3-year, and 10-year goals. All are edited exactly like things on the first tab.
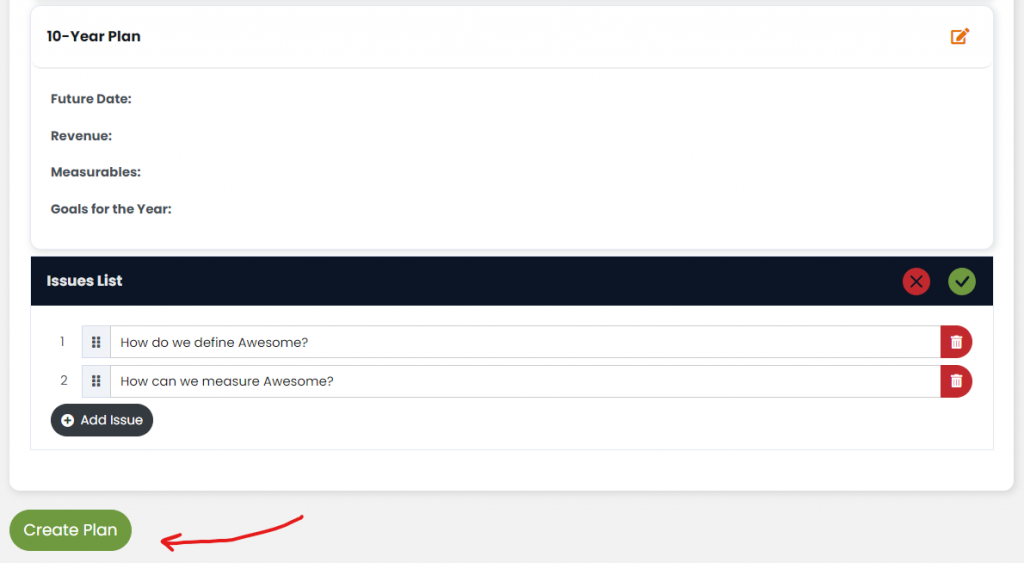
At the bottom, we have a list of “Issues” which we can invision could be challenges we’ll need to address as we progress along this path. These will come in handy when we embed the Business Plan in our meeting(s).
When we’re all done, let’s click the large Create Plan button.
Great! Now we have our “draft” plan done.
Edit a Business Plan
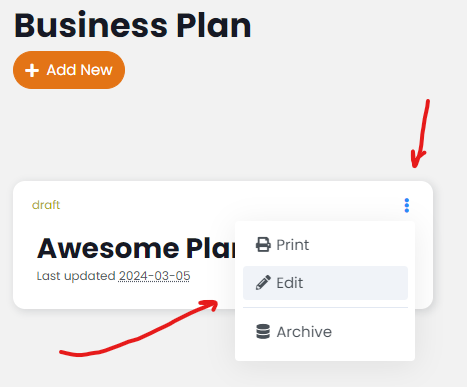
Let’s make a few adjustments by clicking on the “three-dots” in the top-right of the plan and then clicking on Edit.
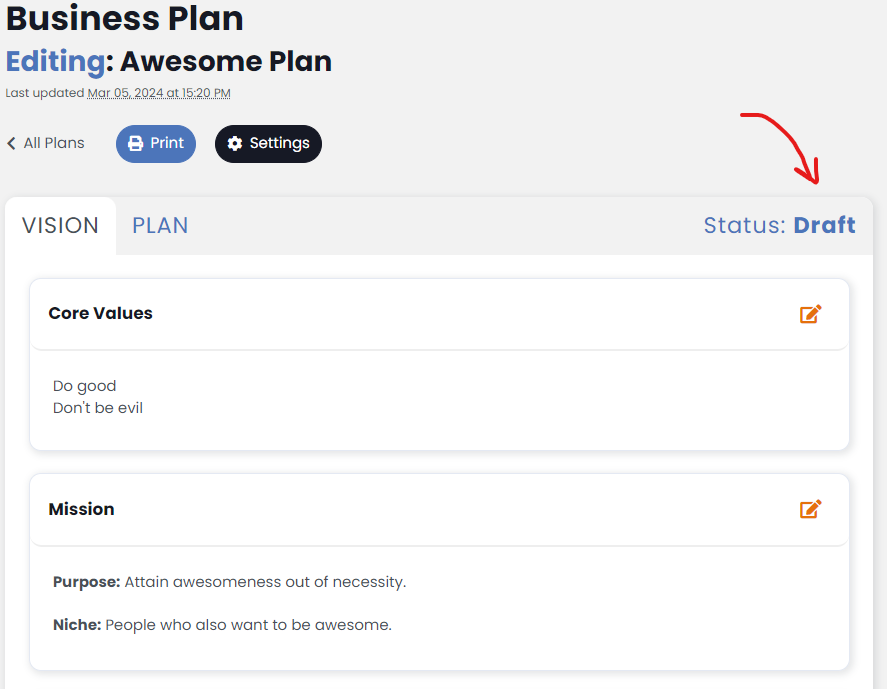
This view is designed to look almost identical to the view when the plan was created. Looks familiar, right? The biggest change now is that there is a new “Status” toggle to the right of the tabs. Right now, the plan is in “Draft” status. That’s the same status as when it was first created.
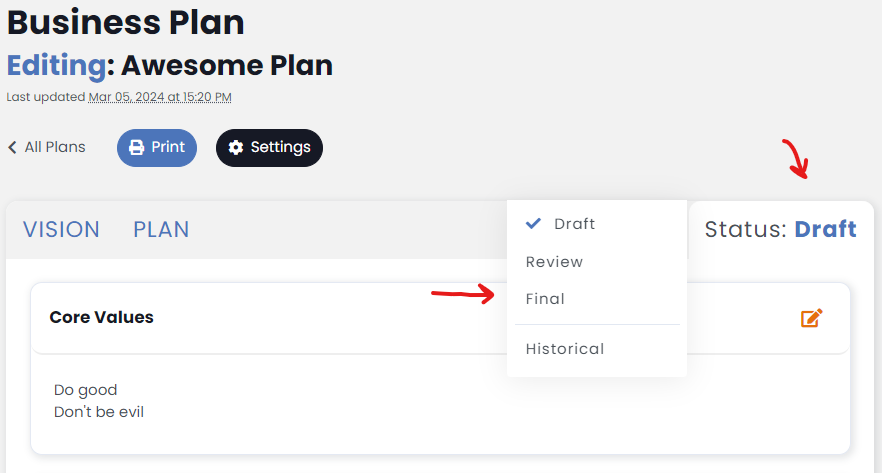
To edit that status, click “Status” and then click the status you would like to update it to. There are 4 possible statuses.
- Draft: just created, editable, not reviewed
- Review: has been reviewed, but is still editable and not fully-approved
- Final: this has been reviewed and approved and is no longer editable
- Historical: this is no longer relevant and being archived
Business Plans can be moved between these statuses all you want. Just like in business, nothing is truly set in stone.
At the top, you’ll see the last day and time this plan was edited. Hover over that date and you’ll see the name of the user who last edited it.
Clicking the “Export PDF” button generates a PDF version of your plan.
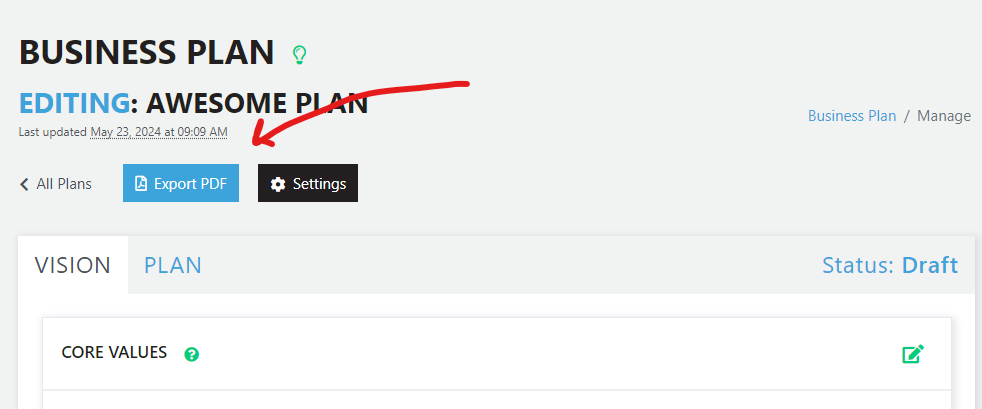
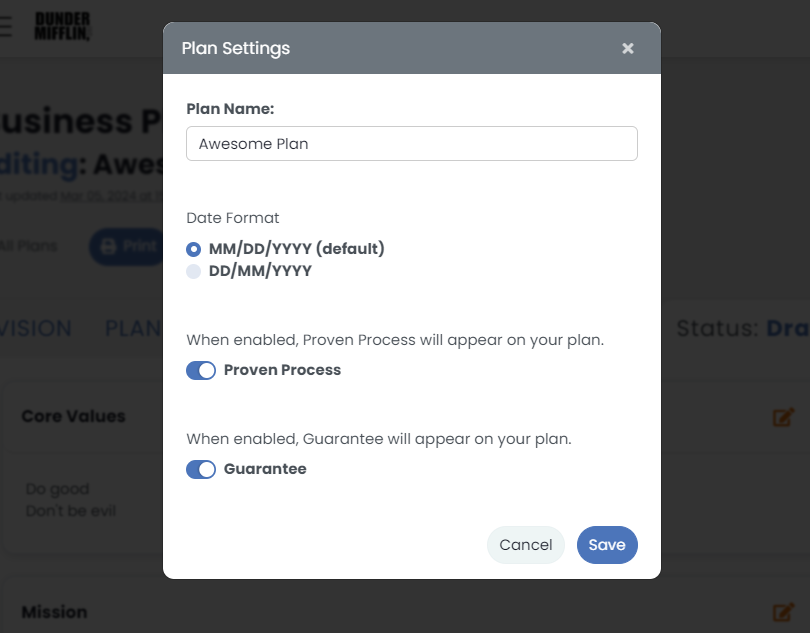
The “Settings” button will let you rename the plan as well as enable/disable portions of the plan.
Click “All Plans” to return to the listing of all business plans.
Embed Business Plan in Meeting
From a particular meeting’s settings, scroll towards the bottom and toggle “Business Plan.” Select the business plan from the list of non-historical business plans and give that agenda item a name and dedicated number of minutes. The name defaults to “Business Plan” but you can re-name it in each meeting, if you choose.
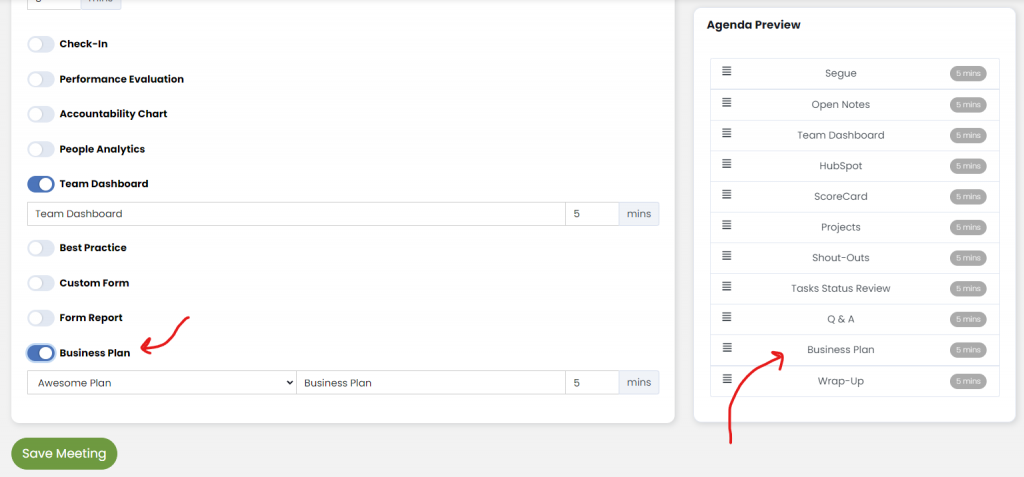
Once in your meeting, you’ll see that agenda item. When you get to that agenda item, you’ll see your business plan embedded in your meeting, just like in the Business Planner tool.